Fix 'er Up!- Belts and Sleeves
Picture this: you're out and about, minding your own business, when all of a sudden you hear a rip or a tear, a pop as your button flies off, or notice a loose thread, try to pull it, and the whole damn hem comes undone. We've all had it happen. The fact is, clothes wear out. But the good news is that a lot of the things that happen to our clothes are very fixable!
Today I'm going to share a couple of quick fixes!
First up: Broken belts.
So as you can see here, my beloved white, woven belt literally split in half on me. And it obviously didn't happen at a convenient time. It happened yesterday in the middle of the work day with an outfit that, quite frankly, looks pretty crummy without a belt. Oy vey! Until I could get myself to a needle and thread (why don't I just carry them in my bag? I have no idea.) I tried to make do with paper clips, binder clips, rubber bands, and then staples. No such luck. I had to abandon ship and just figure it out when I got home.
Now, this problem will likely not befall a belt without stitching, but if you ever have this happen to you, here's what to do!
Gather up a sturdy needle with a sharp point, scissors, and matching thread (you don't need a bobbin, I just grabbed the first cream colored thread I could find!).
Thread up your needle so you've double the thread, and knot the two ends together a couple of times so you've got a sturdy knot.
Insert your needle in such a way that you can hide the knot. For me, that meant inserting the needle between the two layers of leather on this square piece and through one of the existing stitch holes.
Then, overlap the two pieces of the belt with the broken edges to the inside. Push the needle up through the top piece, pull the thread all the way through, and back down through the bottom piece, preferably through one of the existing needle holes, and pull the thread all the way through. You're taking a basic stitch here.
Once the needle comes out through the other side, take your next stitch into one of the existing needle holes, and pull through the other side. Continue with this basic stitch until you reach the end of the stitching area, basically attaching one piece of the belt to the other.
When you've gotten everything attached, knot the end a few times to keep secure and you're done!
Here's the finished product! As you can see, the inside doesn't look amazing, but with the exception of the staple holes from my silly attempt to fix my belt with office supplies, the outside looks good as new.
Onward!
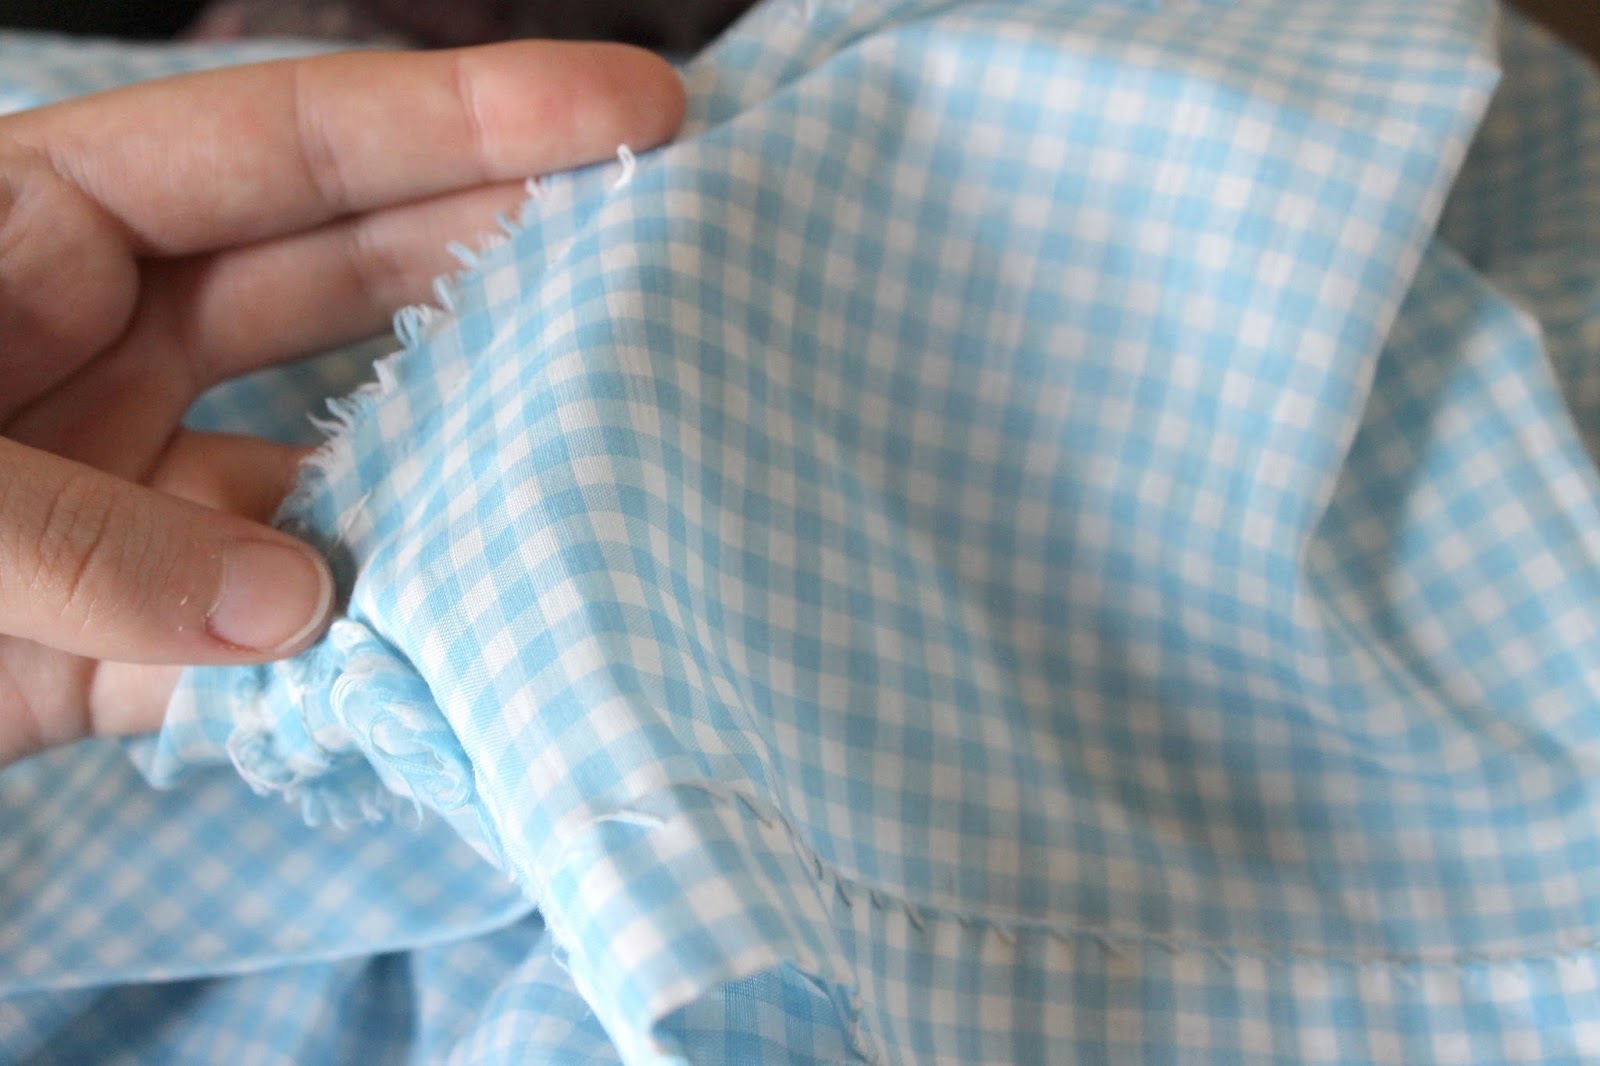
Next up, we're talking ripped sleeves. God, there's nothing much worse than wearing a cute, sleeved vintage dress and reaching for something when all of a sudden you hear a rip! Obviously, in a panic, you run to the mirror to see what happened, and inevitably freak out because vintage clothes don't have overlocked seams, so you see a flat edge, and a then a ripped looking edge and think the fabric ripped, which is a total pain to fix. Well, before you freak out, take a closer look because chances are, the thread, ya know, thin cotton thread that's over 50 years old, has just gotten brittle and popped.
See? Phew! Guess what! This is super easy to take care of. Here's what you do:
Get yourself to a sewing machine (you can certainly hand stitch if you don't have one), and grab a spool of thread and matching bobbin thread.
What you will do is turn the dress inside out and match up the edges of the sleeve. You'll want to begin sewing at the underarm, so line up the seam line with the needle with the sleeve portion facing up and the bulk of the fabric to the left of the machine (standard practice!). Begin stitching (be sure to backstitch at the beginning), following the seam line.
Unless you had a really unfortunate event where the whole damn sleeve popped off, you'll likely encounter stitching that's still in tact as you're sewing. Since we already know the thread is brittle, just sew over the old stitching to reinforce it.
Once you've made it the whole way around and are back at the underarm, backstitch, cut your thread, and you're done!
See? Good as new!
Well, I hope these quick tips can help you save some of your favorite clothes! I'll be sure to post some more quick fixes in the future, especially since I've got a blind hem that needs fixing and some patching to do. I've also got a couple of vintage pieces that need alterations or some serious re-styling, so stay tuned!
Til next time!
-Becca


No comments:
Post a Comment
Note: Only a member of this blog may post a comment.